Setup:
In garage: a closed area with no wind/drafts.
Plastic bag: hang over cup/container and poke a small hole on the bottom, then duct tape it until there is a constant drop, but not too fast.
Container: fill a container to the top with water.
Stool: Position container.
Light: For higher shutter; makes results sharper
Tripod: Steadiness
Procedures:
1) Once everything is placed, you should position your camera to an area where there would be little to no tiny sprays of water falling on your camera. Safety first!
2) Also, make sure your aiming is leveled with the opening of the container.
3) Set the light to the side or behind the camera.
4) Position a backdrop/color/screen to reduce reflection of things around the area, and to give a cool color affect (i horribly failed cuz I dont have a backdrop yet)
5) I'm using a Canon EOS Rebel XS 1000d, but most cameras have similar settings
Camera Settings: ISO 200-400, 800 MAX; shutter speeds of at least 1/140, 1/250 is really the best. Go higher if you can. Aperture of f/5.5 or more: this will create a really nice and shallow depth of field, which, in my opinion, looks good for this situation. Set the camera on continuous, not single shoot.
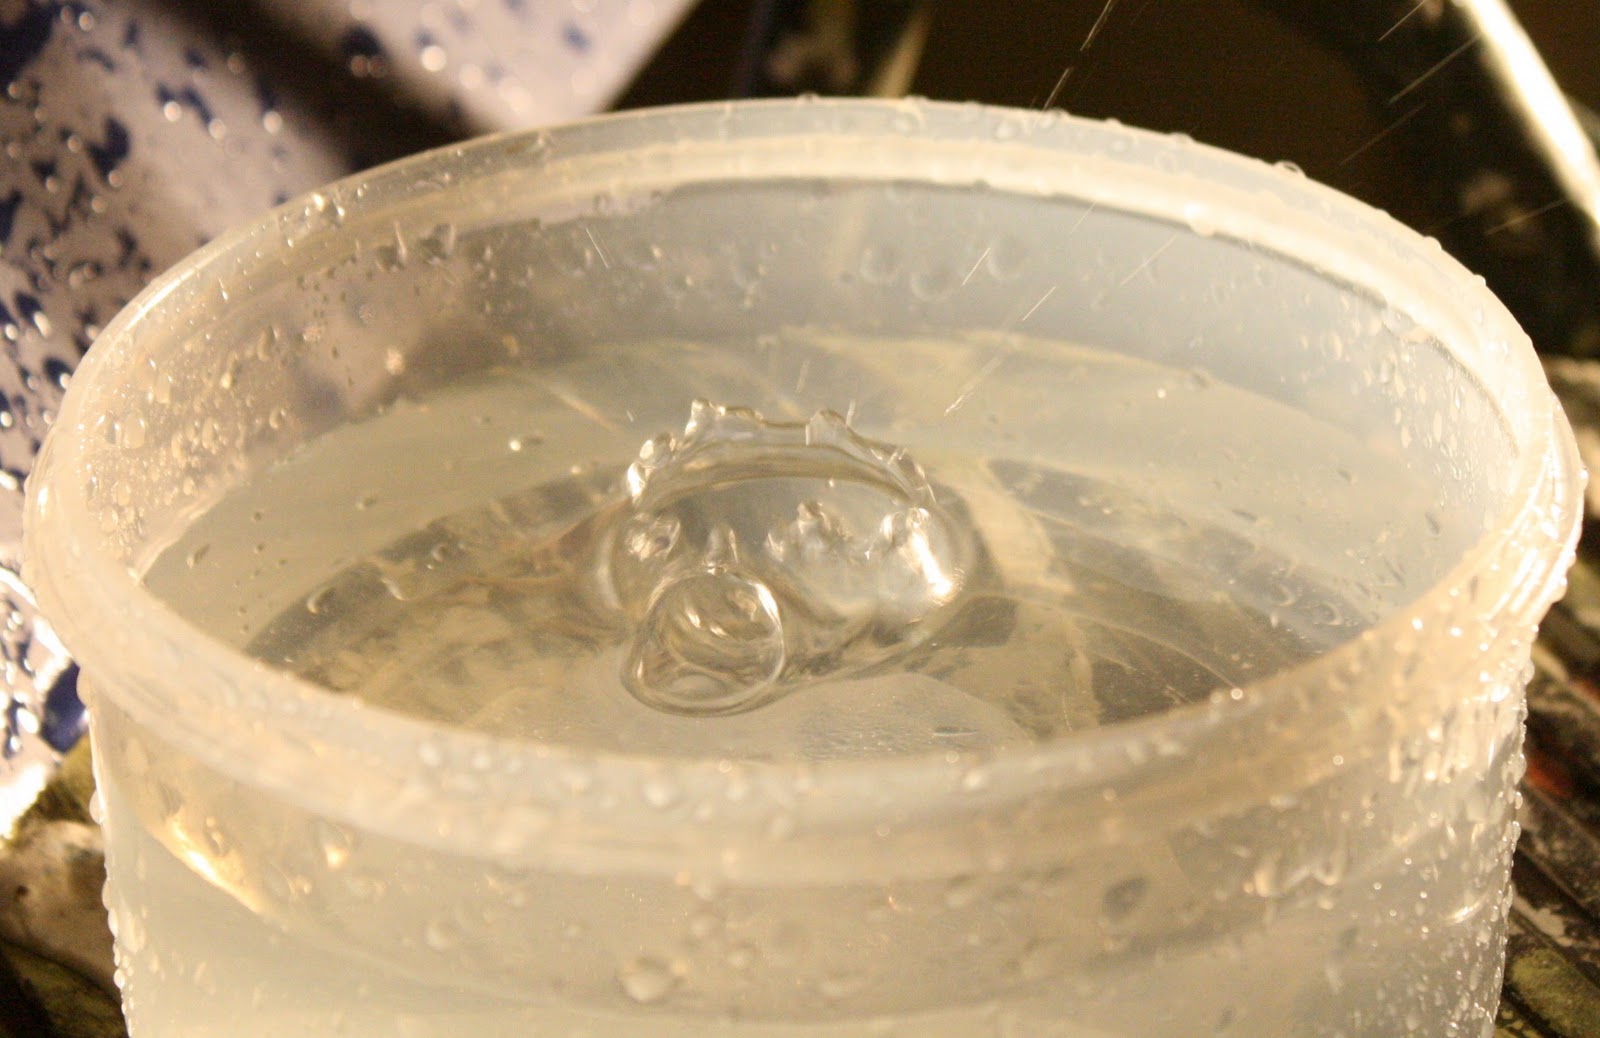
6) When a drop impacts the water, hold the shutter button and fire away!
Examples: [also try using some red food coloring for a cool affect]